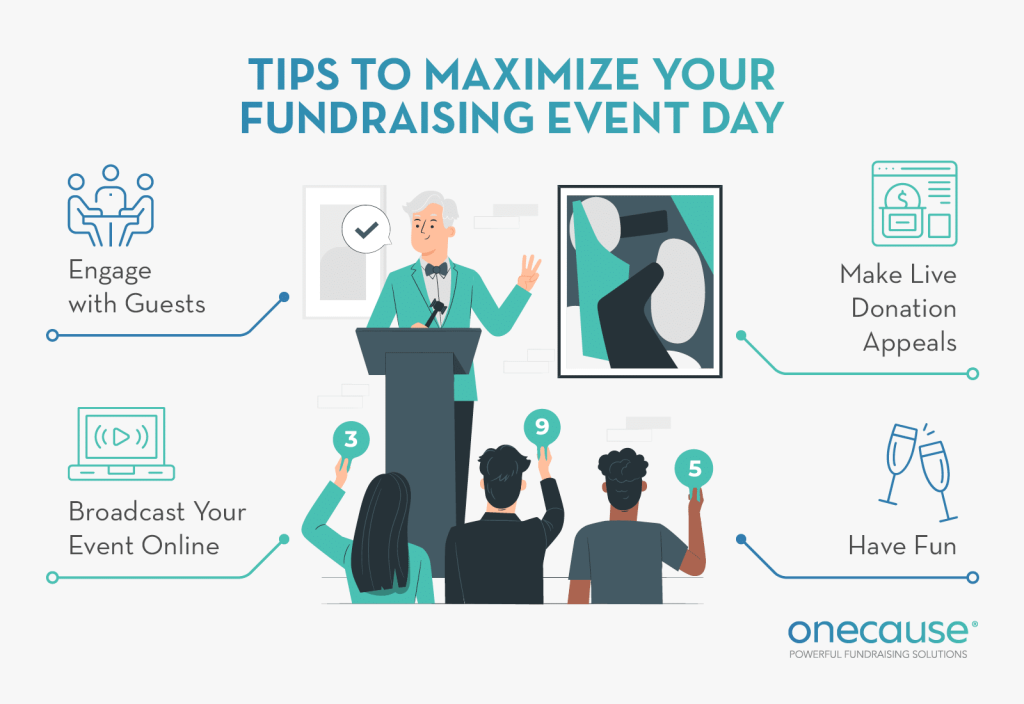
Planning a charity event can feel like a monumental task, but the impact it can have on your cause is immeasurable. A well-executed event not only raises crucial funds but also builds community, increases awareness, and energizes your supporters. Whether you’re planning an elegant gala, a community 5K run, or a virtual auction, a solid plan is your roadmap to success.
“We make a living by what we get, but we make a life by what we give.” – Winston Churchill
This comprehensive guide will walk you through every step of the charity event planning process, from the initial idea to the post-event thank yous.
Phase 1: The Foundation – Building Your Strategic Plan
Before you book a venue or design an invitation, you need to lay a strong foundation. This initial phase is all about defining your purpose and mapping out the core components of your event.
Step 1: Define Your “Why”: Goals and Objectives
Every decision you make will stem from your event’s core purpose. What do you want to achieve? Use the SMART goal framework to set clear, actionable objectives. Your goals should be:
- Specific: Instead of “raise money,” aim to “raise $25,000 to fund our youth literacy program for one year.”
- Measurable: Track your progress. How many tickets sold? How many new donors acquired? What was the total fundraising amount?
- Achievable: Be realistic. Analyze your resources, donor base, and team capacity to set a challenging yet attainable fundraising target.
- Relevant: Ensure the event directly supports your organization’s mission and current needs.
- Time-bound: Set clear deadlines for your goals and the event date itself.
Common charity event goals include:
- A specific fundraising target.
- Acquiring a certain number of new donors.
- Raising public awareness for your cause.
- Celebrating volunteers and key supporters.
- Launching a new program or campaign.
Step 2: Establish a Realistic Budget
Your budget is the financial blueprint for your event. It must be detailed and realistic to avoid overspending and ensure profitability.
Create a spreadsheet with two main columns: Projected Income and Projected Expenses.
Income Sources:
- Ticket sales
- Corporate sponsorships
- Silent/Live auctions
- Merchandise sales
- Direct donations during the event
- Grants
Potential Expenses:
- Venue rental
- Catering (food and beverages)
- Entertainment (band, DJ, speaker)
- Marketing and promotion (printing, ads)
- Staffing and security
- Event technology (ticketing platform, A/V equipment)
- Decorations and supplies
- Insurance and permits
Pro Tip: Always include a contingency line item (around 10-15% of your total expenses) to cover unexpected costs.
Step 3: Assemble Your Dream Team
You can’t do it all alone. A dedicated team is essential for a successful charity event.
“Never doubt that a small group of thoughtful, committed citizens can change the world; indeed, it’s the only thing that ever has.” – Margaret Mead
Assign clear roles and responsibilities to committee members or staff. Key roles often include:
- Event Chair/Lead: Oversees the entire plan and keeps everyone on track.
- Finance Lead: Manages the budget, tracks expenses, and handles all transactions.
- Sponsorship Coordinator: Identifies and secures corporate sponsors.
- Marketing & Communications Lead: Promotes the event and manages all communications.
- Logistics Coordinator: Manages the venue, vendors, and day-of-event operations.
- Volunteer Coordinator: Recruits, trains, and manages volunteers.
Phase 2: The Blueprint – Designing the Event
With your foundation in place, it’s time to build out the details that will make your event memorable.
Step 4: Choose the Right Event Concept, Theme, and Date
The type of event you host should align with your audience, budget, and goals.
- Event Ideas: Gala dinners, fun runs, golf tournaments, art auctions, benefit concerts, online fundraising campaigns, trivia nights.
- Theme: A creative theme can make your event more engaging and marketable. Ensure it resonates with your cause.
- Date and Time: Choose a date that doesn’t conflict with major holidays or other large community events. Check calendars and be mindful of your target audience’s schedule.
Step 5: Secure Your Venue and Vendors
Your venue sets the tone for the entire event. When choosing a venue, consider:
- Capacity: Can it comfortably hold your expected number of guests?
- Cost: Does it fit your budget?
- Location & Accessibility: Is it easy to find and accessible for all guests?
- Amenities: Does it have A/V capabilities, parking, and a kitchen?
Once the venue is booked, secure your key vendors like caterers, entertainers, photographers, and equipment rental companies. Get everything in writing with signed contracts.
Step 6: Craft a Compelling Sponsorship Strategy
Sponsorships are often the financial backbone of a charity event. Create tiered sponsorship packages with clear benefits for different levels of investment.
Benefits to offer sponsors can include:
- Logo placement on marketing materials (website, social media, banners).
- Verbal recognition during the event.
- Complimentary tickets or a dedicated table.
- An opportunity to speak at the event.
- Naming rights for a part of the event (e.g., “The [Sponsor Name] Main Stage”).
Phase 3: The Execution – Promotion and Preparation
This is where your plan comes to life. It’s time to spread the word and finalize the details.
Step 7: Launch a Multi-Channel Marketing Plan
Telling your story is key to selling tickets and inspiring donations.
“Marketing is no longer about the stuff that you make, but about the stories you tell.” – Seth Godin
Your promotion plan should include:
- Event Website/Landing Page: A central hub for all event information, ticket sales, and sponsor recognition.
- Email Marketing: Send targeted invitations and regular updates to your subscriber list.
- Social Media: Create an event hashtag. Share compelling stories, behind-the-scenes content, and countdown posts.
- Press & Media: Send a press release to local media outlets, calendars, and bloggers.
- Partner Promotion: Ask your sponsors, speakers, and board members to share the event with their networks.
Step 8: Manage Ticket Sales and Registrations
Use a reliable online platform (like Eventbrite, Givebutter, or Ticket Tailor) to streamline ticket sales and guest registration. This simplifies the process for your attendees and provides you with real-time data. Consider offering early-bird pricing to encourage prompt registration.
Step 9: Finalize the Day-Of-Event Itinerary
Create a detailed “run-of-show” document that schedules the entire event from setup to breakdown, minute by minute. This master plan should be shared with your team, key volunteers, and vendors to ensure everyone is synchronized.
Phase 4: The Follow-Through – After the Event
Your work isn’t over when the last guest leaves. The post-event phase is crucial for retaining donors and building on your success.
Step 10: The Art of the Thank You
Prompt and personal gratitude is non-negotiable.
“I have found that among its other benefits, giving liberates the soul of the giver.” – Maya Angelou
Within 48 hours, send thank-you messages to:
- Attendees: Thank them for coming and for their support.
- Sponsors: Send a personalized report showing the value of their contribution.
- Volunteers: Acknowledge their hard work and dedication.
- Vendors & Partners: Thank them for their professional service.
Step 11: Analyze Performance and Gather Feedback
Debrief with your team. Compare your initial goals to the final results.
- Did you meet your fundraising target?
- How was the attendance?
- What went well? What could be improved?
Send a short survey to attendees to gather feedback for future events.
Step 12: Report on Your Impact
Finally, close the loop with everyone who contributed. Share the grand total raised and, most importantly, explain how those funds will be used to advance your mission. Demonstrating tangible impact is the best way to ensure your supporters will be there for your next event.